
Maintenance & Cost Saving
How to Install Pellet Mill Roller Bearings: Preparation, Checks and Common Mistakes
A safer pellet mill roller-bearing installation starts with the exact existing bearing, roller position, shaft, housing, seals and lubrication arrangement. Confirm those details before mounting a replacement, then use clean handling and a method that loads the correct bearing ring.
Installing a pellet mill roller bearing starts before the bearing reaches the maintenance area. The safer workflow is to identify the exact bearing and roller position, inspect the shaft, housing, seals and lubrication arrangement, then install a confirmed replacement with clean tools and the correct mounting method. A machine brand or a photo of a roller shell alone does not confirm the bearing designation.
For a maintenance team, the aim is practical: complete the planned work without introducing contamination, damaging a new bearing during mounting or reopening the roller assembly because a related seal, spacer or locking part was missed. For a purchasing team, the same preparation reduces urgent back-and-forth during a shutdown. This guide explains what to record, what to inspect and which common errors to avoid. It does not replace the machine maker’s service instructions, site safety rules or a technical review of the installed bearing arrangement.
Why roller-bearing installation deserves its own checklist
The press roller operates in the area where material is compressed against the die. Depending on the pellet mill design, the roller assembly can see repeated load, shock, vibration, dust and heat. Its bearing arrangement works together with the shaft or stub shaft, roller shell, seals, spacers, covers and lubrication path. Replacing a bearing without checking these related parts can leave the original cause of a problem in place.
Two roller assemblies with the same external appearance may still use different bearing structures, cage designs, internal clearance, lubrication features or axial-location methods. Production year, roller design, machine configuration and earlier maintenance changes can also affect what is installed. That is why an installation plan should begin with the actual removed bearing or a confirmed drawing, rather than an assumption based on the pellet mill brand.
Clear preparation also supports cost control. A maintenance stop costs more when a crew discovers a missing seal, damaged housing surface or incomplete bearing designation after the roller has been opened. A planned replacement kit and a simple inspection record make repeat supply easier to manage without claiming that one bearing is suitable for every machine.
Step 1: Confirm the bearing requirement before opening the roller
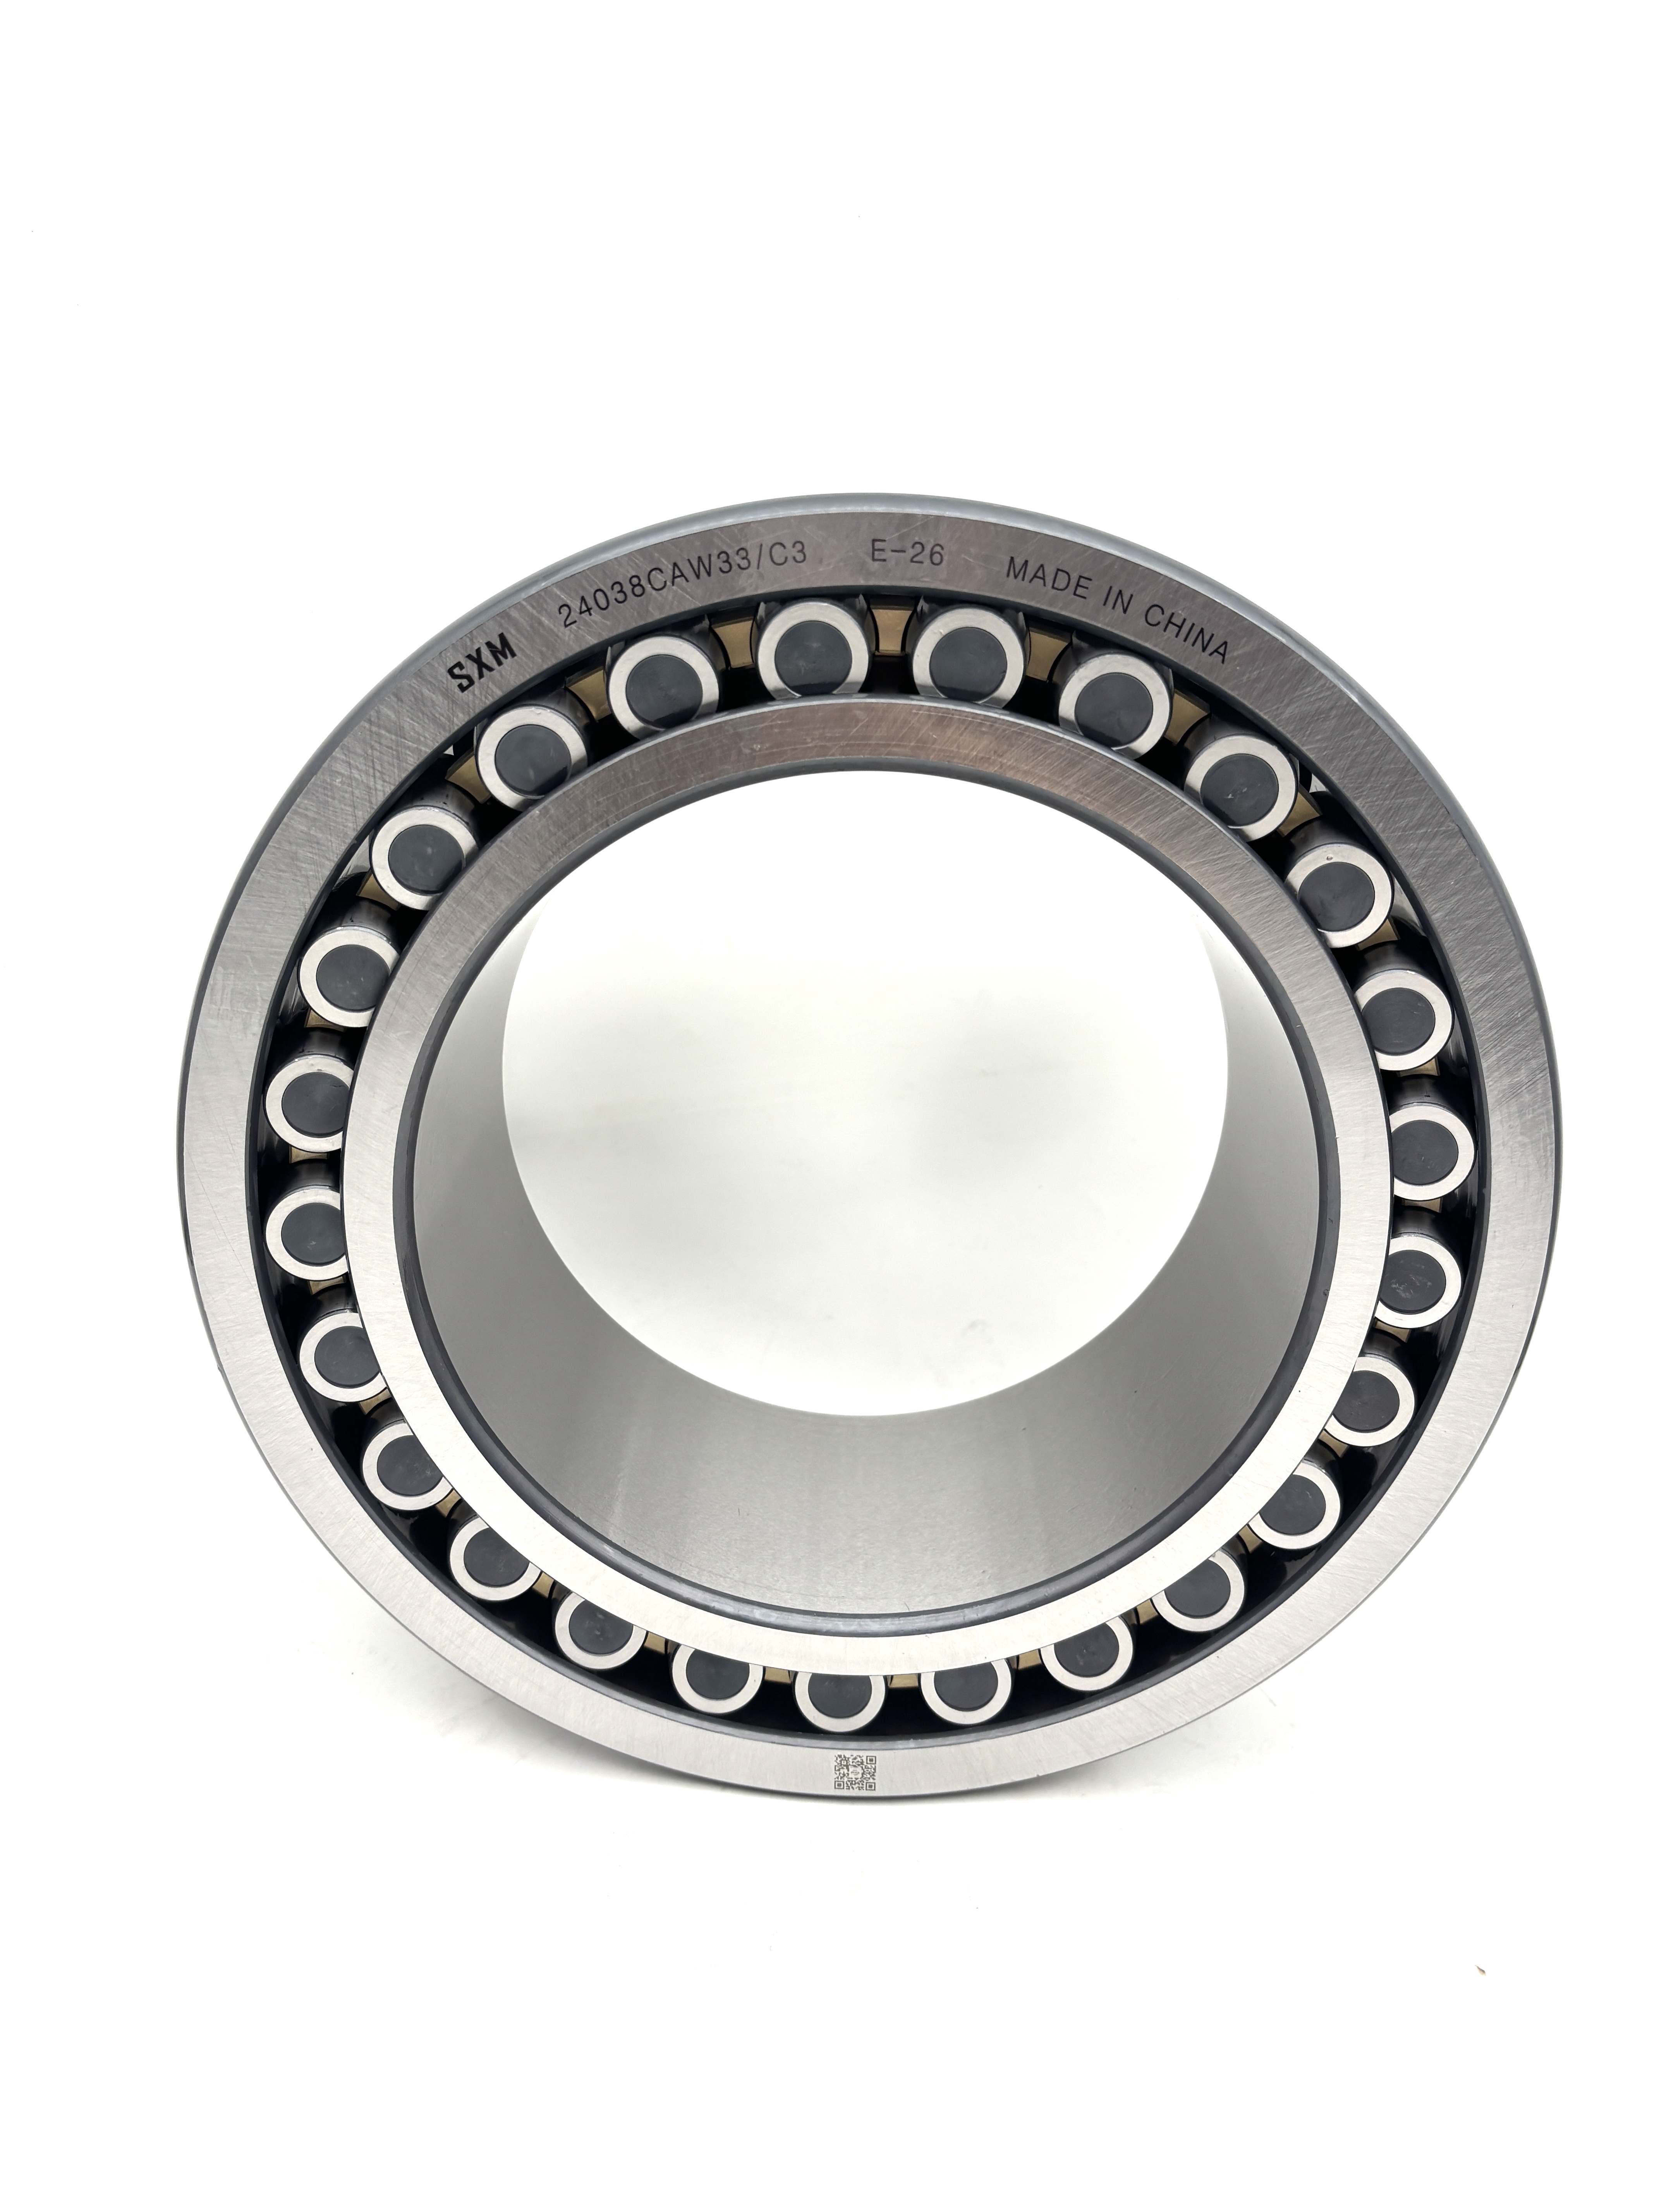
Before a scheduled shutdown, collect all available identification evidence. The full marking on the existing bearing remains the most useful reference. Record every letter, number and suffix exactly as it appears. A short designation can omit important construction details, so do not simplify it while preparing an enquiry or purchase order.
If the bearing is still installed, take clear photos of the marking, the outside of the roller assembly and the surrounding position. If it has already been removed, photograph both rings, the cage, any lubrication groove or holes, and the related seals or spacers. Keep a note of the orientation and location of parts as they come apart. A photo with a scale or measured dimensions can be helpful when the marking is incomplete, but dimensions alone do not confirm the full design.
Use the machine model as supporting information. It can help identify the equipment environment, but it should not create an automatic compatibility claim. SXM’s Machine References are selected reference records only. Final selection should still be checked against the actual bearing number, dimensions, arrangement and operating conditions.
Information to prepare for a replacement review
- Existing bearing designation, including all suffixes and manufacturer marking.
- Pellet mill brand and machine model, if known.
- Roller position and whether the request concerns the complete roller assembly or one bearing location.
- Clear photos before disassembly and after removal.
- Bore, outside diameter and width if measured, with the measuring method stated.
- Cage appearance, lubrication groove or holes, seals, spacers and locking components.
- Quantity needed, planned maintenance date and whether the requirement is routine or urgent.
For a wider checklist of shaft, roller, gearbox and motor positions, see Main Bearing Positions in a Pellet Mill.
Step 2: Prepare a clean, complete work area
Bearings should stay in their original, clean packaging until the work area is ready. Pellet plants can have fine dust, grease residue and material contamination around the press. These conditions make housekeeping part of the installation process, not an optional extra.
Clean the workbench, tools and accessible surfaces near the roller assembly. Place removed parts in order so the team can inspect them without mixing components from different rollers. If two roller assemblies are serviced at the same time, label parts by position. This is especially important when similar-looking spacers, covers or seals are not interchangeable.
Prepare lifting equipment and supports suitable for the roller assembly. Do not use a new bearing as a lifting point or let it carry the weight of a roller during handling. The maintenance team should follow its own approved lifting procedure and machine safety process, including isolation and lockout requirements.
At this stage, check that the complete replacement scope is available. A bearing alone may not be enough. The maintenance plan may also require seals, retaining elements, gaskets, roller-shell parts or a lubrication item. If a related component is uncertain, pause the purchase decision until its function and dimensions can be reviewed. It is better to identify an open question before a shutdown than during installation.
Step 3: Inspect the removed bearing and related components
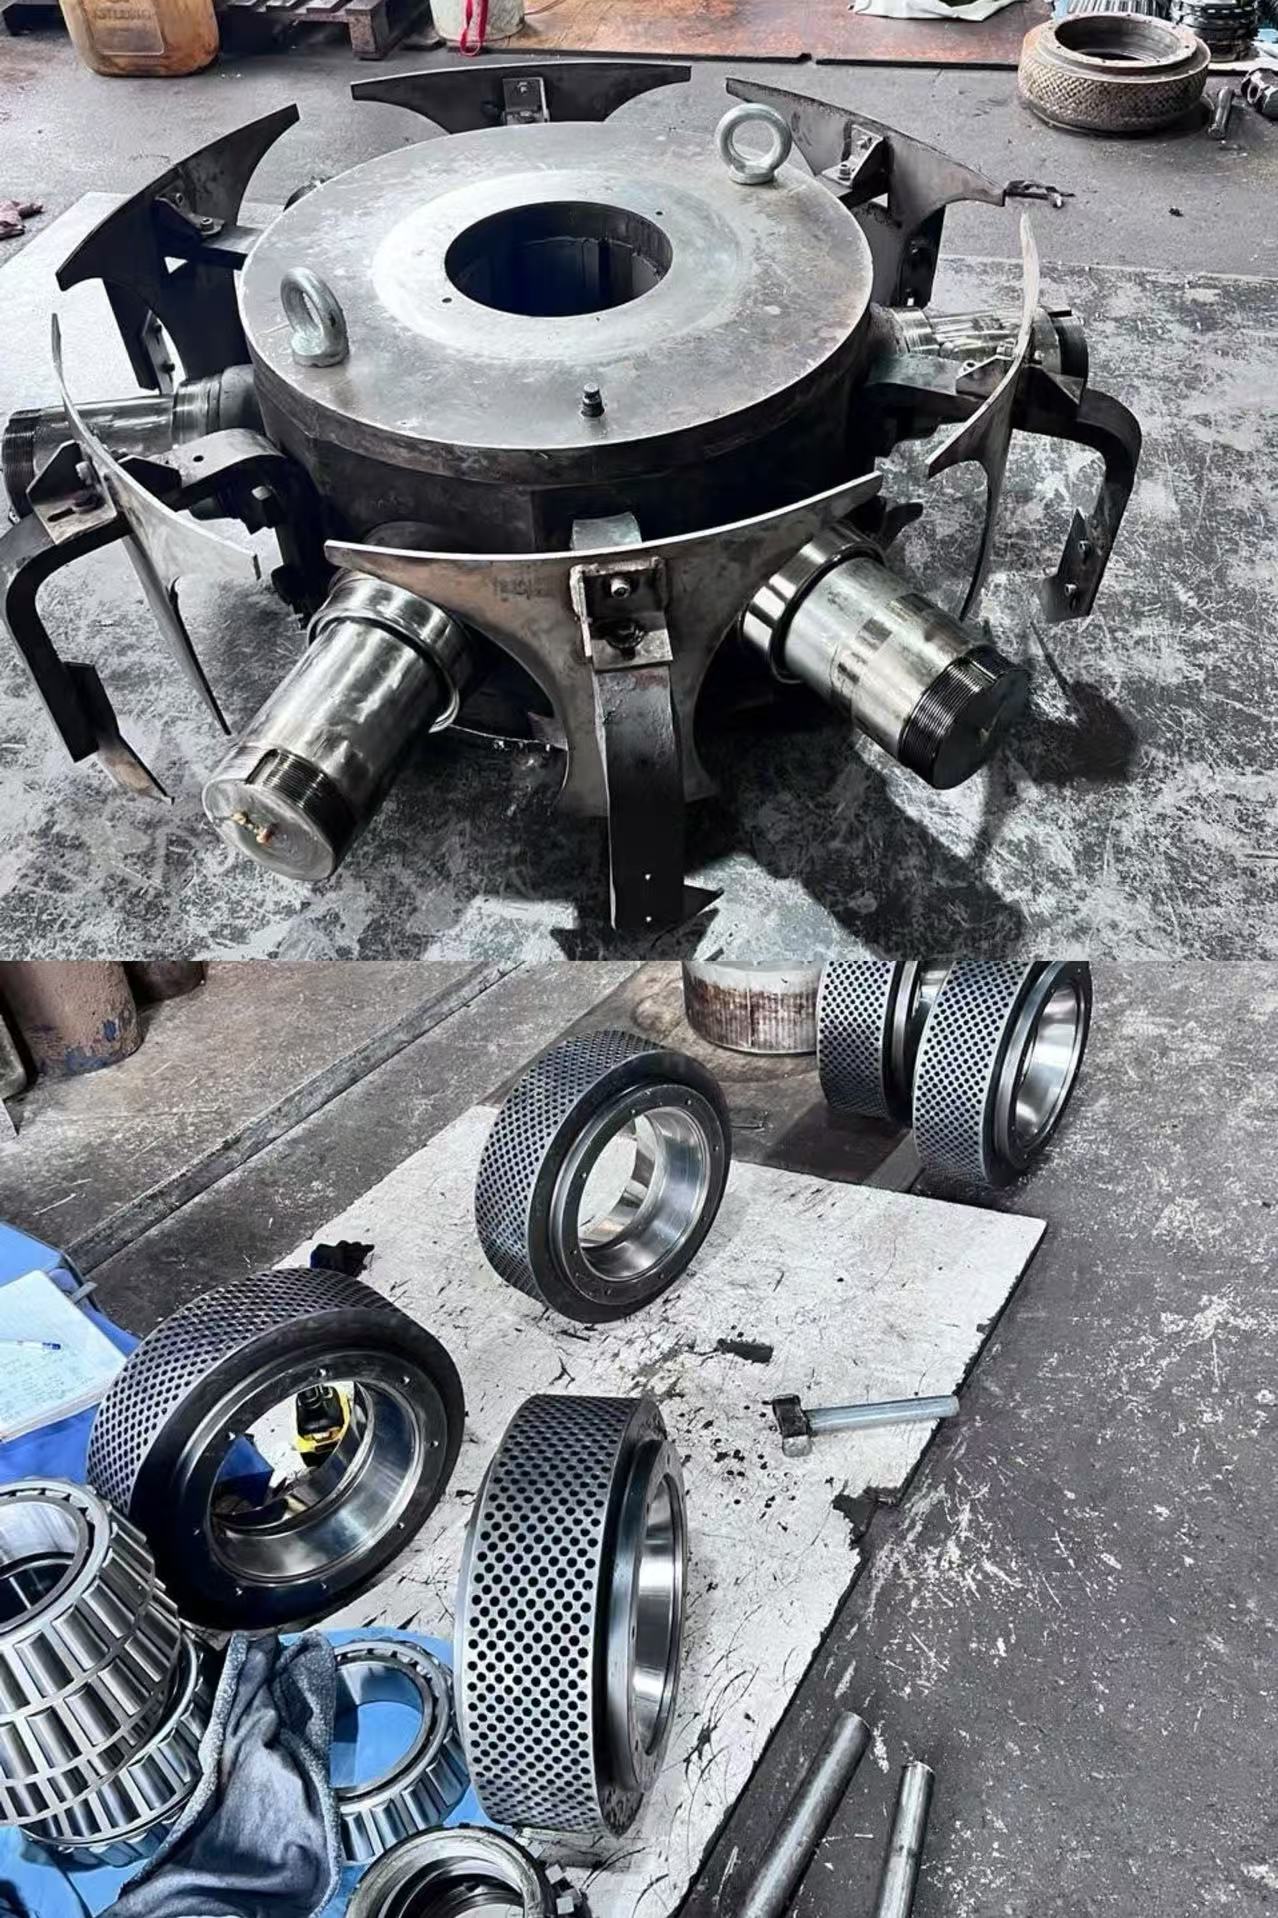
The removed bearing can provide useful evidence, but it should be handled carefully. Do not clean away markings or damage the cage while trying to remove it quickly. If the cause of the issue is unclear, preserve the component for internal maintenance review.
Look for practical signs around the assembly: discoloration, grease condition, water ingress, scoring, fretting on the shaft seat, looseness in a housing, damaged sealing lips, abnormal wear on a spacer or contact marks on a retaining part. None of these observations proves a single failure cause by itself. They are prompts for a wider check.
For example, a damaged bearing may have operated with contamination, unsuitable lubrication, an incorrect fit, misalignment, an axial-location problem or excessive load from another component. Replacing it without checking the surrounding condition can create a repeat failure. A concise inspection record helps a future maintenance team compare what changed between jobs.
Inspect the shaft and housing surfaces
The shaft and housing provide the seats that support the bearing. Before fitting the replacement, inspect them for visible damage, corrosion, burrs, heat marks or fretting. Check that shoulders, fillets and locating surfaces are clean and undamaged. A raised burr or contaminated seat can prevent the bearing from locating correctly.
Do not use abrasive methods that alter a critical seat without an approved repair process. If the shaft or housing condition is uncertain, record the observation and consult the plant’s maintenance or engineering procedure. A bearing supplier cannot confirm the complete assembly condition from the bearing number alone.
Check seals and lubrication paths
Roller assemblies commonly operate in a dusty environment, so the seal condition matters. Inspect the seal contact area, any retaining cover, grease path and visible evidence of leakage or contamination. Replace seals only according to the confirmed assembly requirement. An incorrect seal size, material or orientation can create its own problem.
Review the lubrication practice with the site team. Confirm the grease type already approved for the equipment, the delivery path and whether old grease or contamination must be removed according to the plant procedure. Do not mix grease products simply because both are described as high-temperature or heavy-duty. Compatibility and quantity must follow the equipment and lubricant supplier’s guidance.
Step 4: Use a mounting method that loads the correct ring
The basic installation rule is simple: apply mounting force only to the bearing ring with the interference fit. If a bearing is pressed onto a shaft, force should act on the inner ring. If it is pressed into a housing, force should act on the outer ring. Transmitting force through rolling elements can damage raceways and rollers before the machine returns to service.
The actual mounting method depends on the bearing type, size, fit and machine design. A maintenance team may use a mechanical press, hydraulic equipment, an approved induction heater or another method specified by the equipment procedure. Follow the tool manufacturer’s and machine maker’s limits. Do not use an open flame to heat a bearing. Do not strike the bearing directly with a hammer.
For tapered, spherical or other roller-bearing arrangements, axial setting and internal clearance may depend on the design. The installer must use the applicable machine documentation and confirmed bearing instructions. Do not guess a clearance, preload or endplay value from a similar machine, online forum or generic catalogue description.
Keep the bearing clean during mounting
Open the packaging only when the mounting operation is ready. Use clean gloves and keep the bearing off dusty work surfaces. Avoid spinning a dry bearing by hand for demonstration. If the assembly needs lubrication during mounting, use the approved lubricant and method for that position.
This same discipline should continue through receiving and shipment inspection. Before a planned maintenance job, buyers can confirm the bearing designation and packaging condition on receipt, then store the product clean and dry until installation. These simple controls reduce avoidable handling risk without making an unverified service-life promise.
CTA: Need help confirming a roller bearing before maintenance?
Send SXM the existing bearing number, pellet mill model, roller-position photos and any available drawing. We can help review the identification information and discuss a replacement requirement before quotation. Send your bearing information.
Step 5: Reassemble the roller assembly with position control
Reassembly should follow the reverse order only when the original arrangement has been confirmed. Keep each spacer, retaining component and seal in its correct sequence. Check that the bearing seats fully against the intended shoulder or locating surface where the design requires it. Do not use a cover, bolt or unrelated component to pull a bearing into place unless the equipment procedure specifically calls for that method.
Before closing the assembly, verify that grease passages, seal orientations and retaining components are clear. Confirm that no cloth, loose fastener or debris remains inside the roller area. If the maintenance team uses torque values, shim settings or adjustment values, those should come from the machine’s approved service documentation, not from this article.
It is also useful to photograph the completed assembly before it goes back into operation. The image becomes a reference point for a later inspection and helps distinguish a current condition from an earlier maintenance state. Keep it in the plant’s maintenance record rather than presenting it publicly as a universal machine configuration.
Step 6: Complete controlled start-up checks
After the roller assembly is returned to service, follow the site’s approved start-up sequence. Observe the machine at a safe distance and monitor normal indicators used by the plant, such as noise, vibration, temperature trend, lubrication delivery and guard condition. A single observation does not establish long-term performance, but an early check can identify an obvious assembly issue before it becomes more serious.
If the bearing position shows an unusual temperature rise, noise, vibration or leakage, stop and follow the plant’s fault-reporting and safety procedure. Do not continue operating just to see whether the condition settles. The underlying reason may relate to the bearing, fit, alignment, lubricant, seal, roller adjustment or another part of the press system.
For troubleshooting context, read Why Do Pellet Mill Bearings Run Hot?. It explains why temperature alone cannot identify the cause and why the position, mounting arrangement and lubrication condition should be reviewed together.
Common pellet mill roller-bearing installation mistakes
Ordering from a partial designation
A common purchasing error is to order a familiar basic number while omitting suffixes. The suffix may affect cage design, internal clearance, lubrication feature or another construction detail. Copy the full marking exactly. If it cannot be read, state that the designation requires confirmation rather than filling the gap with an assumption.
Treating a machine brand as proof of fit
A machine brand, series or external photo can be useful context, especially for locating manuals and discussing the equipment environment. It does not prove the installed bearing. Machines can differ by configuration, production year or previous maintenance. The removed part, drawing, dimensions and position information remain more reliable evidence.
Applying force through the rolling elements
Pressing or striking the wrong ring can create damage that may not be visible during installation. Use an approved mounting tool that contacts the correct ring. If the fit requires a heating method, use the approved equipment and temperature process rather than an improvised heat source.
Reusing damaged seals or ignoring contamination
The roller assembly can operate in a dusty, grease-lubricated environment. A new bearing cannot compensate for a damaged seal, contaminated grease or worn contact surface. Check the whole local arrangement and confirm any related replacement parts before closing the assembly.
Skipping documentation after the job
Even a short record improves future sourcing. Note the bearing designation, position, date, observed condition, related parts replaced and any follow-up action. When the same requirement appears again, this record helps the buyer request the correct product and helps the supplier distinguish a repeat order from a different position.
FAQ
Can I identify a pellet mill roller bearing from the machine model alone?
No. A machine model provides useful context, but it does not by itself confirm the bearing number, suffix, arrangement or condition. Share the existing bearing marking, photos, dimensions and roller position for review.
Should I replace roller bearings and seals together?
The answer depends on the confirmed roller assembly and the condition of its seals. Inspect the sealing arrangement and follow the machine maker’s maintenance procedure. Do not assume that every roller position uses the same seal or component sequence.
Can a bearing be heated before mounting?
Some bearing installations use approved heating equipment, but the correct method depends on the bearing, fit and machine procedure. Use the equipment maker’s guidance and avoid open flames or uncontrolled heating.
What should I check after installation?
Follow the site’s approved start-up process and monitor the normal indicators used by the plant. If abnormal noise, vibration, temperature trend or leakage appears, stop and investigate according to the maintenance and safety procedure.
What information should I send SXM for a roller-bearing enquiry?
Send the complete existing bearing designation, machine model, roller position, photos, dimensions or drawing where available, quantity and required timing. This information supports a safer replacement review.
Conclusion
Pellet mill roller bearing installation depends on preparation and confirmation more than speed. Identify the existing bearing correctly, inspect the shaft, housing, seals and lubrication path, use the correct mounting method and record the completed job. This approach helps maintenance teams plan work more reliably and helps purchasing teams avoid ordering a partial or mismatched requirement.
SXM supports bearing identification and replacement discussions for selected pelletizing applications. We do not treat a brand name or a generic roller photo as a final compatibility decision. If you have an existing bearing number, machine details, drawing or photos, send your requirement for a practical review before your next maintenance stop.
Next step: confirm the existing reference
For a replacement request, send the bearing marking, machine position, quantity, drawing or photos. SXM will review the available information before confirming a practical replacement option.
Get a Quote